
SYMFONISK wifi speaker with wireless charger

Instead of putting the shade on it, I added a wireless charger onto the base of the SYMFONISK wifi speaker table lamp.

IKEA item used:
IKEA SYMFONISK wifi speaker with wireless charger

Photo: IKEA.com

Other materials and tools:

Adding wireless charger to wifi speaker:

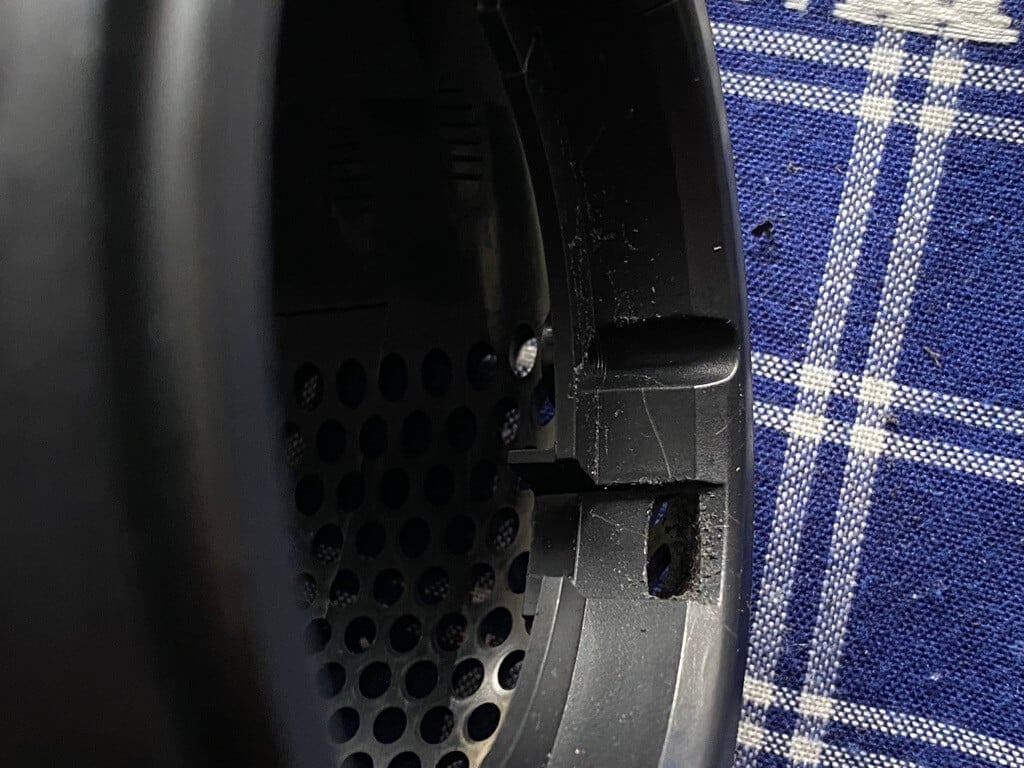
Not seen in the photos, but I pulled the switch through the mesh cover and I removed the 4 screws that are seen when you take out the diffuser shade. Once removed it stretches upwards and the speaker (SONOS ONE) is exposed. (I remove 2 screws from the switch and I have the cover clean.)

Four more screws let us remove the part of the lampholder. I cut the wires and cut the lamp part.


Related: Sonos SYMFONISK Move — the battery-powered speaker


Then, I drill a few holes and filed them enough for the usb c to pass.

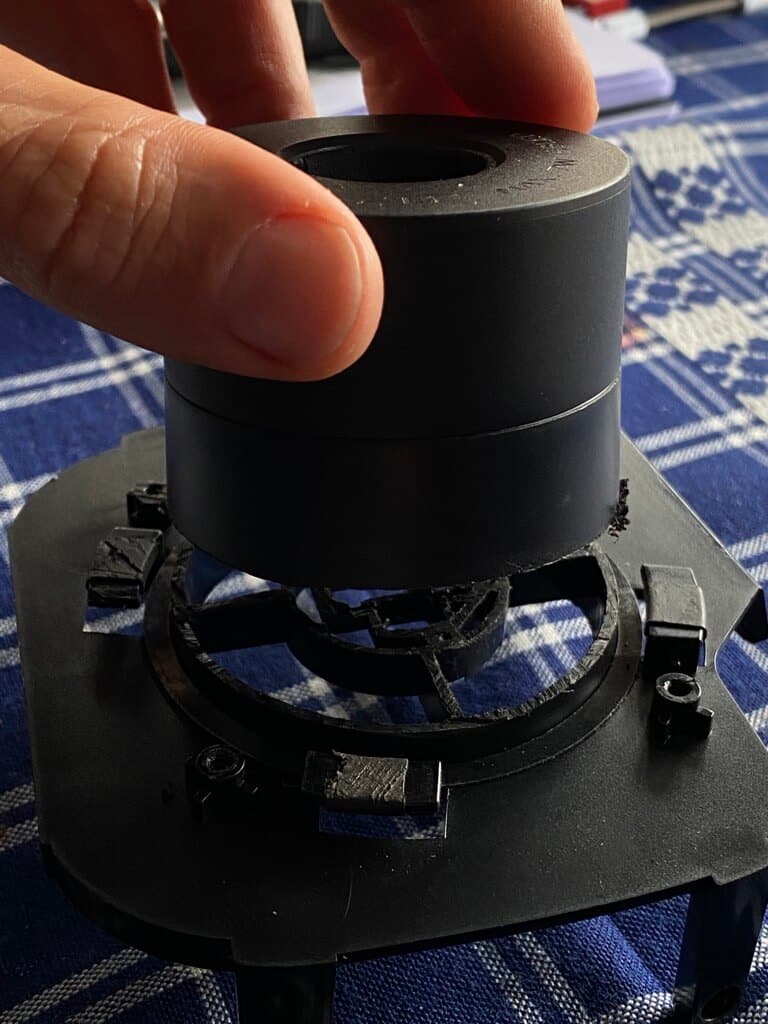
I disassemble the wireless charger. Under the rubber feet of the base, there are 4 screws, I leave them half screwed and I hit the table so that the top comes out … perfect

IKEA SYMFONISK wifi speaker with wireless charger

I also remove 4 screws from the printed circuit board to give more mobility to the charger.

On the wires that goes into the bulb, I soldered a mobile wireless charger. (previously disassembled)

With a hot air gun I strip the usb c (it’s the same one that came with the charger.)

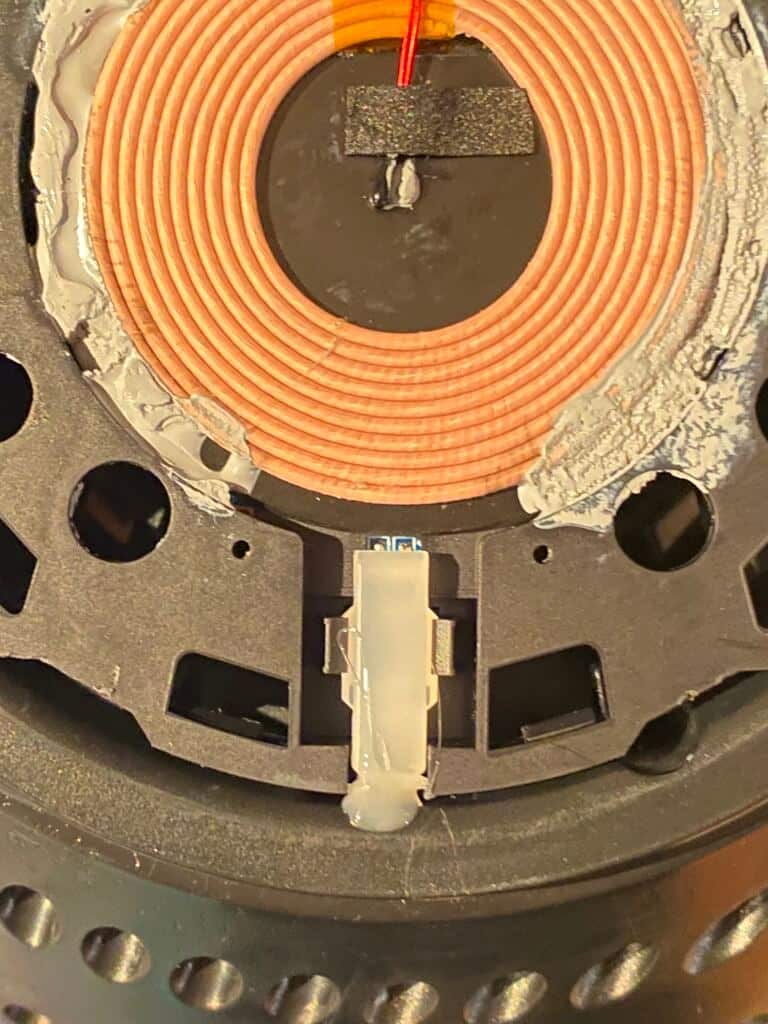
With a hot glue gun, I use the charger on the switch and cover to protect the usb c. (Making it smaller and can be folded well) and with electrical tape, I attach the cable well to the housing.

Reassembled the housing of the wireless charger.

IKEA SYMFONISK wifi speaker with wireless charger

I added a drop of hot glue in the area that illuminates the charging LED, so it will look and also hold the charger in place.

I place the rubber part of the pressure loader and it stays that way.

Considerations:

I decided to put a 5w transformer even though the wireless charger supports up to 10w. That’s because IKEA recommends that the bulb be at max 7w.

The hardest part has been cleaning the usb c connector so that it can bend well.

I decided not to remove the switch because I think that maybe at some point the wireless charger may cause some virus on the network and affect the sound or wifi signal. So I want the option to turn it off when I want to.

In case you don’t want to, it’s very easy to sew the hole vertically and cut where the switch goes.

Time needed for mod: 5h

~ by Joan Torrens

The post SYMFONISK wifi speaker with wireless charger appeared first on IKEA Hackers.

Comments

Popular posts from this blog

SKÅDIS: 5 ways to make the IKEA pegboard even better

IKEA introduced its own pegboard system, SKÅDIS, two years ago and I’d say it’s one of the best systems IKEA launched in recent years. I love how super customisable it is, with a growing range of accessories that help keep things organized. It works everywhere, in your wardrobe to bathroom . Probably anywhere you have a flat surface to hang it up. Photo: IKEA.com SKÅDIS pegboard system See it on IKEA.com But no matter how perfect a system, you can trust IKEA hackers to improve on the SKÅDIS. And they’ve settle these 5 issues you may have faced with the handy IKEA pegboard. Read on for their fixes. 5 IKEA SKÅDIS issues and fixes #1 Expensive hooks? You’ll need quite a number of hooks and accessories to fill up the SKÅDIS pegboard, and Kenyer was shocked at how quickly they all added up. So he figured he could make his own hooks to save cost. Photo: Kenyer Over at Instructables , he shows us how to twist copper wires into the SKÅDIS hook shape. It works s...

Hackers Help: How to remake cam lock holes?

I want to put a 78.5” wide PAX configuration in a 77” space for a kids room . My plan is to eliminate the drawer on the right unit, then cut the shelves and rails to be 1.5” narrower. My question is, how do people attach two laminated pressboard IKEA pieces after they’ve cut off the cam lock holes? Related: See more Hackers Help questions and answers . Are they using drills bits and/or tiny hole saws to remake the cam lock holes? Or screws drilled in from the outside with wood glue? The outside pieces won’t be visible in my completed setup so I could go either way. I’m curious what other people are doing, either I haven’t seen this detail in past hacks or I haven’t been paying attention. ~ by Jenny *** Hi Jenny The best and tidiest method is to use the cut-off portion as a template to reproduce the same cam lock holes in the correct positions. The right sized drill bits and a  Forstner bit should do the trick. A Forstner bit will drill a flat-bottomed hole (...

6 Clever & Easy IKEA FLISAT Table hacks for more Fun & Play

The IKEA FLISAT children’s table is quite a smart little thing. See those white covers? It’s a secret compartment. Open them up and you’ll fit 2 TROFAST storage tubs snug under the top of the table. Your child can reach in and get his or her LEGO bricks -– and then — most importantly, sweep everything down into the bin to clean up. Or at least that’s what we all hope the kiddo does! It’s also perfect for sensory play. Instagram is full of ideas on what to add to those tubs to maximise them. Think of filling them with rice, pasta or chickpeas, you name it, to develop fine motor skills. Read on to see how you can make the $50 table work harder for so much more fun. #1 Simple mod turns the IKEA FLISAT into a Play & Craft table Lauren has a very simple yet practical hack to turn the FLISAT children’s table into a play table with more storage and better organisation. Materials: Photo: IKEA.com FLISAT table with TROFAST tubs ONSKLIG change table containers Wood bracket ...